
Building a Simple Slack Bot
Hello,
You would have come across many slack bot tutorials. So this is one of them and especially for a newbie programmer along with the explanation of the code.
In this tutorial, we are going to create a Slack App which will send the timetable daily morning via Slack Bot to you and we will deploy that on AWS Lambda. The backend code of the bot will be written in Python 3.
What is Slack?
Slack is essentially a chat room for your whole company, designed to replace email as your primary method of communication and sharing. Its workspaces allow you to organize communications by channels for group discussions and allow for private messages to share information, files, and more all in one place.
To improve user-friendliness, Slack manages its space more efficiently. First, it divides conversations into Public, Private channels and direct messages, while WhatsApp offers only one-to-one or group chats.
Configuring Slack
In this section, we will see how to configure Slack for our Project.
- Go to Slack’s website and create a workspace if you don’t have one already.
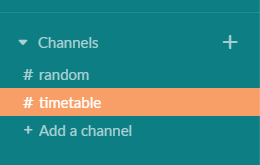
- After successful registration, login into your workspace. On the left find Channels. Click on Add a Channel to create a new channel for our Project.
- Now go to https://api.slack.com/apps and click on Create New App. Enter the name you want to give to your app and select the workspace you want to deploy your app into.
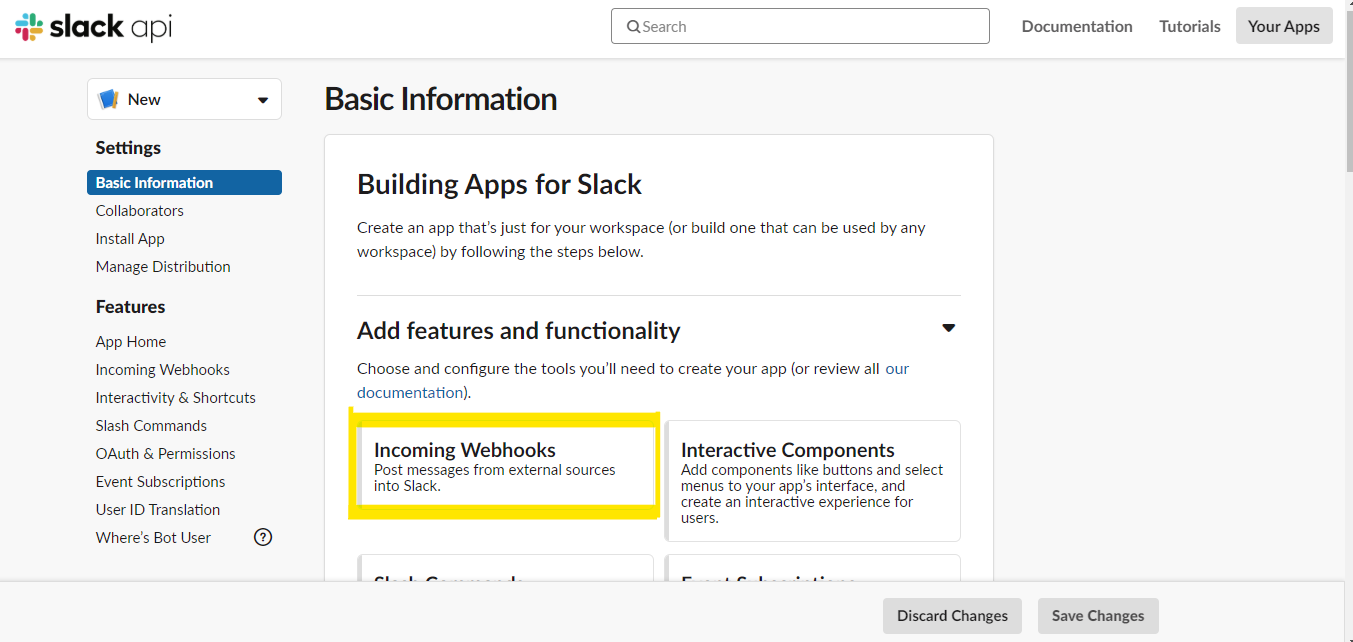
- After creating the app, select the Incoming Webhooks options.
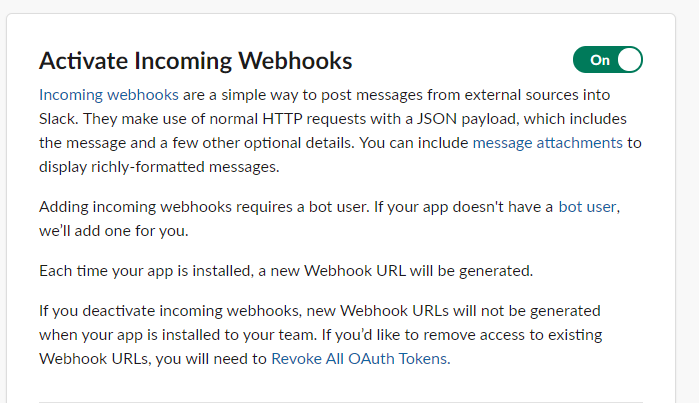
- Activate the Incoming Webhooks by using the slide button provided.
- Now scroll down and click on the Add New Webhook to Workspace.
- It will ask you to select the channel you want to post the messages. Select the channel from the drop-down list and click on allow.
- The webhook is now active in your workspace.
- You can find the Webhook URL on the Incoming Webhook page. Copy the URL as we will need that later in our code.
Note:- Always keep the Webhook URL private as anyone can push message using this URL.
Creating Python Script
We will be using datetime, requests and JSON library available for Python 3. The text is pushed to the Slack Channel via Webhooks available in Slack.
- Create a new folder for our project and name it accordingly.
- Open any text editor of your choice and create a file with the .py extension and save it in the project folder. The whole code of the project is linked at the last of this article.
- First, we will import datetime, requests and json libraries in our project.
- When we create a Lambda function, we specify a handler, which is a function in our code, that AWS Lambda can invoke when the service executes our code. We will do it in the following way:
- Now we will get today's weekday using the datetime library which is in integer format and then store that in a variable named day. Then we will use Python List having all the weekday's names and store the name of that weekday in a variable.
- We will now store the schedule in the Python List.
- The message is pushed to Slack via Webhook gives us a unique URL to which we can send the JSON payload with the message text and some options.
- The webhook URL is stored in a variable. Paste the Webhook URL within the quotes that we got in the previous section.
- The message that we are going to send is stored in a variable names send_data.
- Now we will create a function to send the data to Slack.
- Now using the if condition we will specify which of the data is to be sent from the list we created before.
- Copy the above same code for all other weekdays and replace the name of the weekday.
- Now call the webhook_send send function.
- This will push the message to the Slack Channel.
import requests
import json
import datetime
def lambda_handler(event=None, context=None):
# Our Main Codeday = datetime.datetime.today().weekday()
days_list = ["Monday", "Tuesday", "Wednesday", "Thursday", "Friday", "Saturday", "Sunday"]
today_day = days_list[day]Monday = ["Subject 1,", "Subject 2,", "Subject 3"]
Tuesday = ["Subject 1,", "Subject 2,", "Subject 3"]
Wednesday = ["Subject 1,", "Subject 2,", "Subject 3"]
Thursday = ["Subject 1,", "Subject 2,", "Subject 3"]
Friday = ["Subject 1,", "Subject 2,", "Subject 3"]
Saturday = ["Subject 1,", "Subject 2,", "Subject 3"]webhook_url = 'Your-Slack-Webhook-URL'send_data = "Good Morning !! :smile:\nToday it's " + days_list[day] + "\n\nTimetable is :"def webhook_send():
response = requests.post(wekbook_url, data=json.dumps(data), headers={'Content-Type': 'application/json'})if (day == 0):
for i in range(len(Monday)):
send_data = send_data + " " + Monday[i]
data = { 'text': send_data }
.
.
.
.
if (day == 6):
data = { 'text': 'Today is Sunday :smile: \nNo classes today. Enjoy!!!!' }AWS Lambda Deployment Package
A deployment package is a ZIP archive that contains our function code and dependencies. We need to create a deployment package if we use the Lambda API to manage functions, or if we need to include libraries and dependencies other than the AWS SDK in our project.
- In your terminal, go to the folder in which your Python script is present.
- Enter the following command in your terminal.
- All the files for that library are now installed in the project folder.
- Open file explorer and open the project folder. Select all the files and right-click on add to archive to compress them all into a ZIP file.
- The deployment package of our project is now ready.
pip3 install requests -t .What is AWS Lambda?
AWS Lambda is an event-driven, serverless computing platform provided by Amazon as a part of Amazon Web Services. It is a computing service that runs code in response to events and automatically manages the computing resources required by that code. It was introduced in November 2014.
AWS Lambda lets you run code without provisioning or managing servers. You pay only for the compute time you consume.
With Lambda, you can run code for virtually any type of application or backend service — all with zero administration. Just upload your code and Lambda takes care of everything required to run and scale your code with high availability. You can set up your code to automatically trigger from other AWS services or call it directly from any web or mobile app.
Deploying on AWS Lambda
To use AWS Lambda you need to have an AWS account. I would recommend you create a free trial account which offers many AWS Services free for the first year. You can try out these services and learn AWS platform.
To deploy our application on AWS Lambda, follow the below given steps:
- Log in to AWS and select the region you want to deploy your app on the top left corner. It is recommended that you select the region nearest to you.
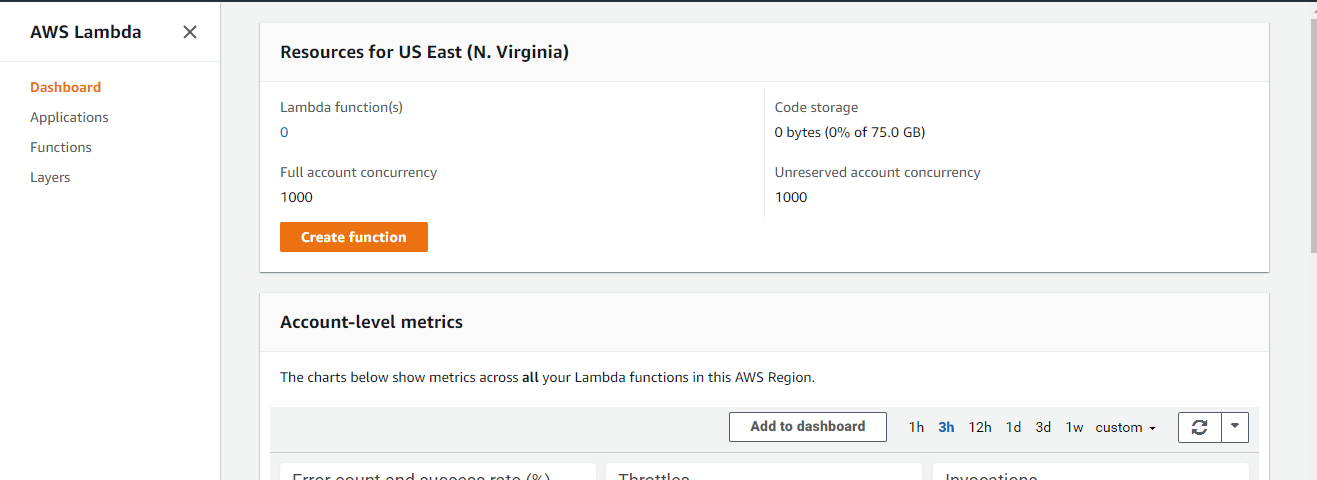
- Search Lambda in the dashboard and open the Lambda Dashboard.
- Click on Create Function.
- Select Author from scratch and give the name of your function. Select the Runtime as Python 3.x and click on Create Function.
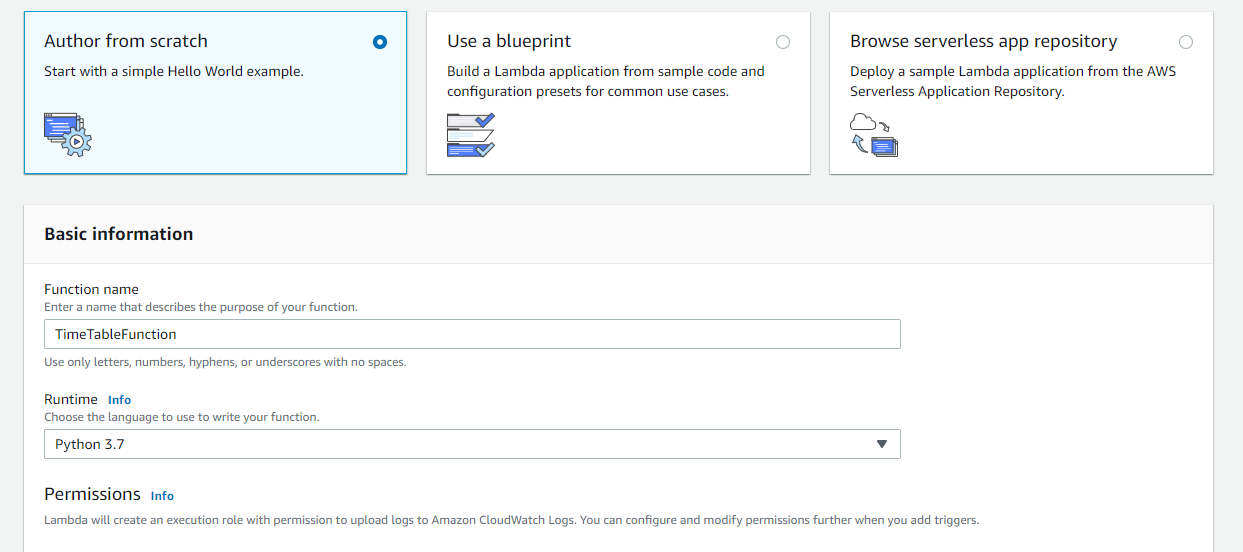
- After the function is successfully created you will be redirected to the configuration page of your newly created function.
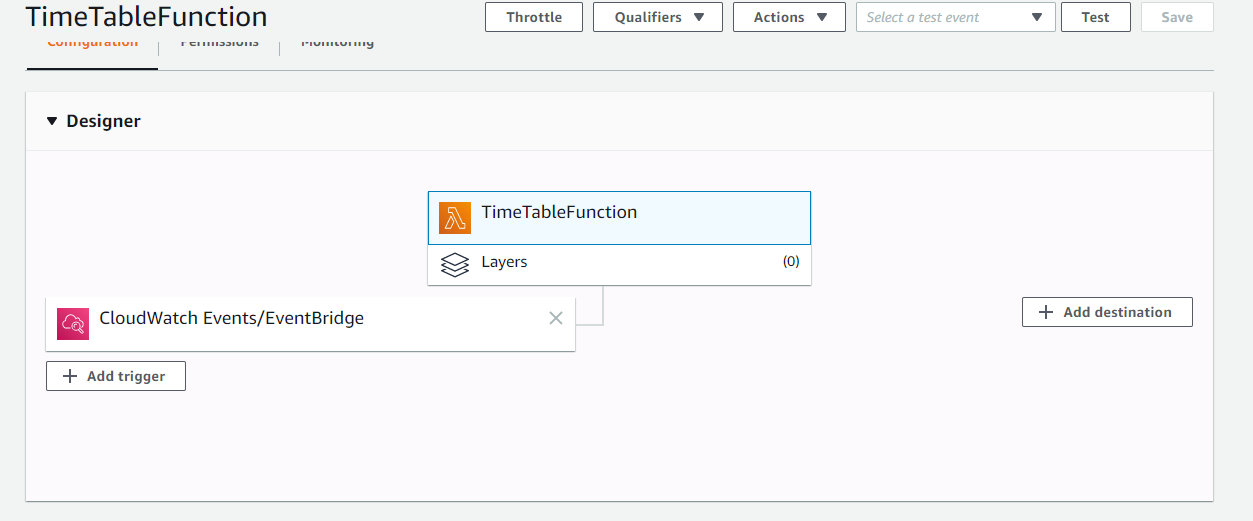
- Now click on Add Trigger on the Designer tab in Configuration Pane. Select CloudWatch Events from the drop-down menu.
- Select Create new Rule and then give the name of your rule.
- Use the following configuration to run your code daily at 7 AM (UTC) and click on Add.
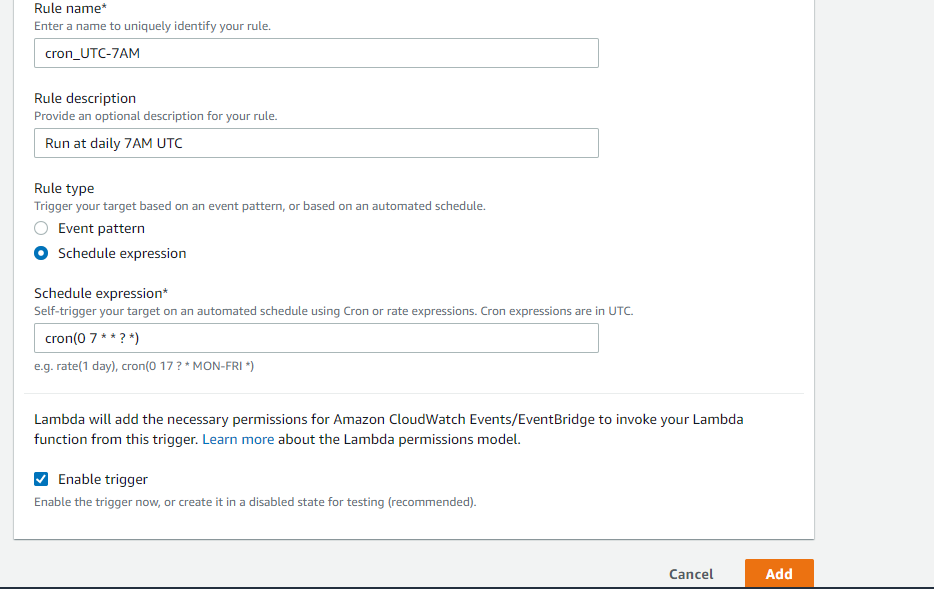
Note:- The cron function timings are always in UTC.
- Now click on the name of the function in the Designer tab in the Configuration pane.
- Scroll down to the Function Code table. In the Code entry type select Upload a .zip file and upload the zip file we created in the previous section.
- Now click on Save to save our newly created function.
- To test our function, click on Test and select Create new test event. Select the Hello World event template and give a suitable name for the event and leave others as default. Create the event by clicking on Create.
- Now click on Test, this should send the message on your Slack channel.
- If you didn’t receive the message, then check if you followed all the steps correctly. You can even check the logs in CloudWatch Logs for more error information.
Your Slack App is now deployed successfully on AWS Lambda and will run at the specified time. You can use this idea to implement something similar to this type.
The whole code of this project is available here.
 262588213843476
So this is the end of the tutorial. I hope you would have successfully deployed the Bot on AWS Lambda.
Stay Home Stay Safe. Have a great day ^_^
Bbyee 👋
See you in the next post!
